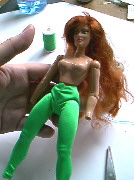
Assembling the costume...
... the legs

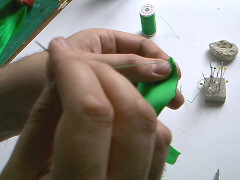
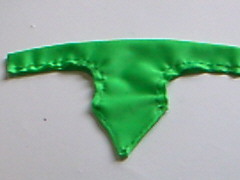
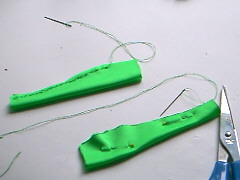
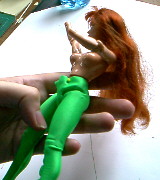
Time to get some sewing done. First up, the legs; I started from the bottom of the crotch, down to the foot hole and back again. Once I tied the stitch off though I didn't cut the thread.
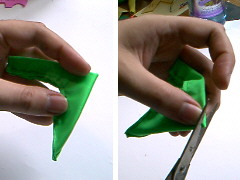
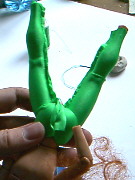
Repeated the process for the other leg.
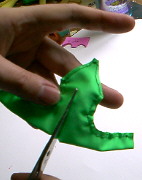
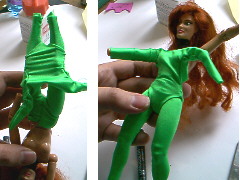
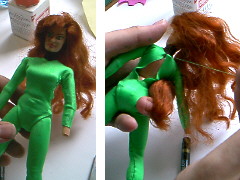
You can now either pin the legs together by themselves, or pop them on the figure and sew them together... at least the latter way you find if they're too tight quicker! Pin the material together and sew. The stitching doesn't have to be perfect as the seam will be hidden under the leotard top
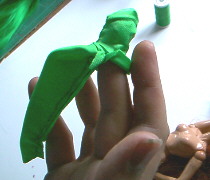
There's no hemming required for these as all the edges are going to be hidden from view.
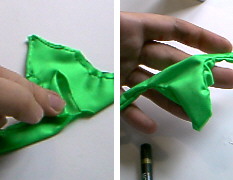
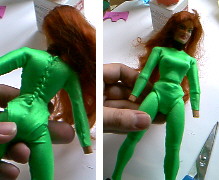
Turn the leggings inside out and slip them onto your FC Touchwood they'll fit! Remember, you can always run in another seam of stitches if they're too loose.